DIY Mini Glitter Houses
I love a good craft project, and this one looks a lot harder than it is, which is always the best kind, right?! Trust me! We documented our DIY process in the making of these adorable mini glitter houses. We're also exited to show you what we're doing with the finished product so stay tuned.
Let's begin!
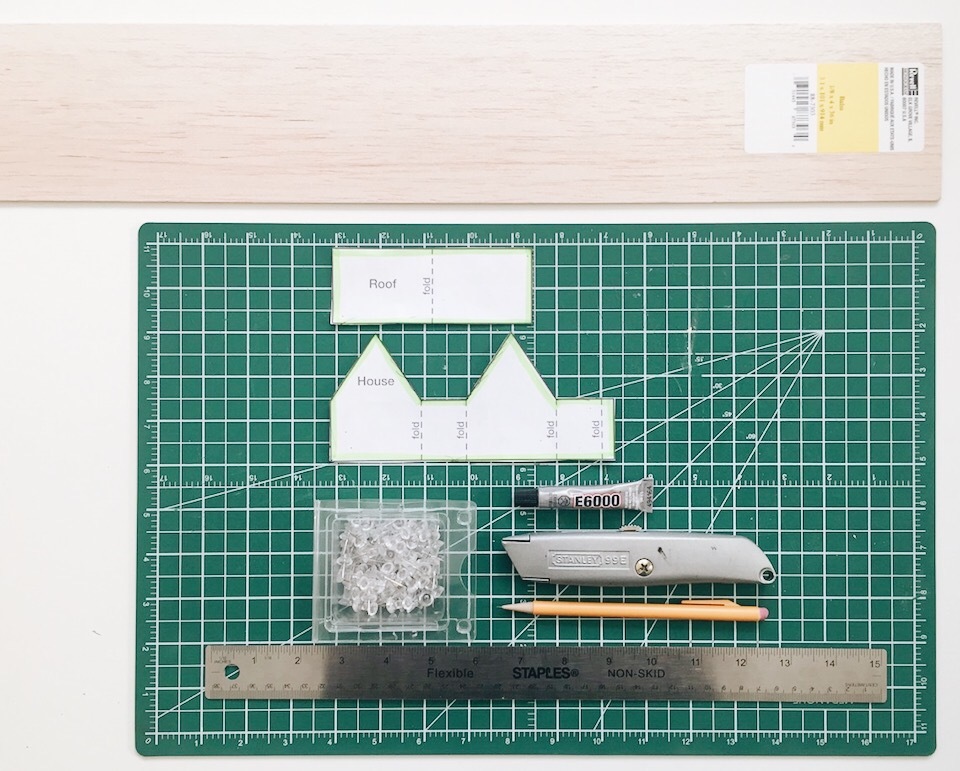
Step 1: Gather all necessary supplies. House templates (we found a modern flat roof style as well as a traditional house), 1/8" thick balsa wood, e6000 adhesive, x-acto knife, pencil, metal ruler and a cutting mat. Here is the link for the house templates. You can modify the scale by increasing the percentage to the size you'd like depending on your project.
Note: we planned to hold the houses in place with push pins while the glue dried but the e6000 adhesive was so strong the pins were not necessary.

Step 2-3: Trace the house shapes on to the balsa wood. Use a heavy duty x-acto knife and a metal ruler to cut out the parts of the house.
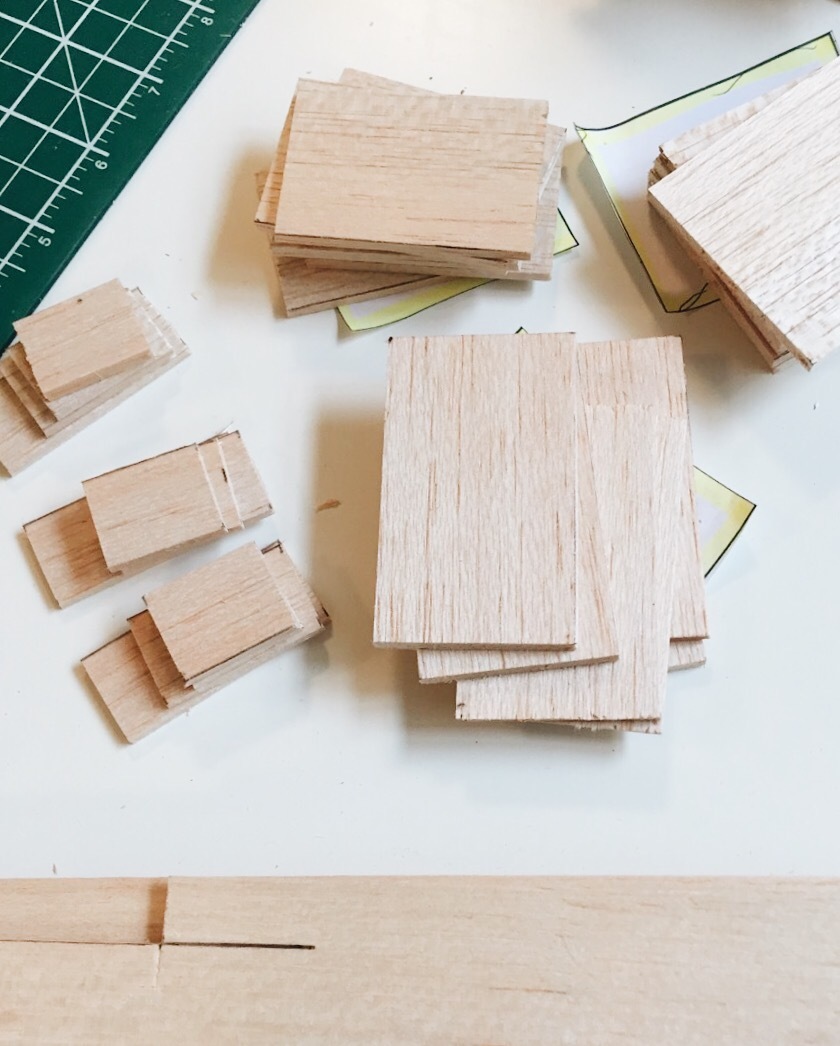
Step 4: We found it easiest to cut all of the parts first, organize into piles and then begin assembly.

Step 5 - 8: Apply the e6000 adhesive along the sides and connect to the face. Repeat for the back of the house. Apply adhesive to the top edges of the pitches and apply the roof, one side at a time. Attach house to base.

Step 9: Congratulations! You have now completed your house and it's ready for paint.
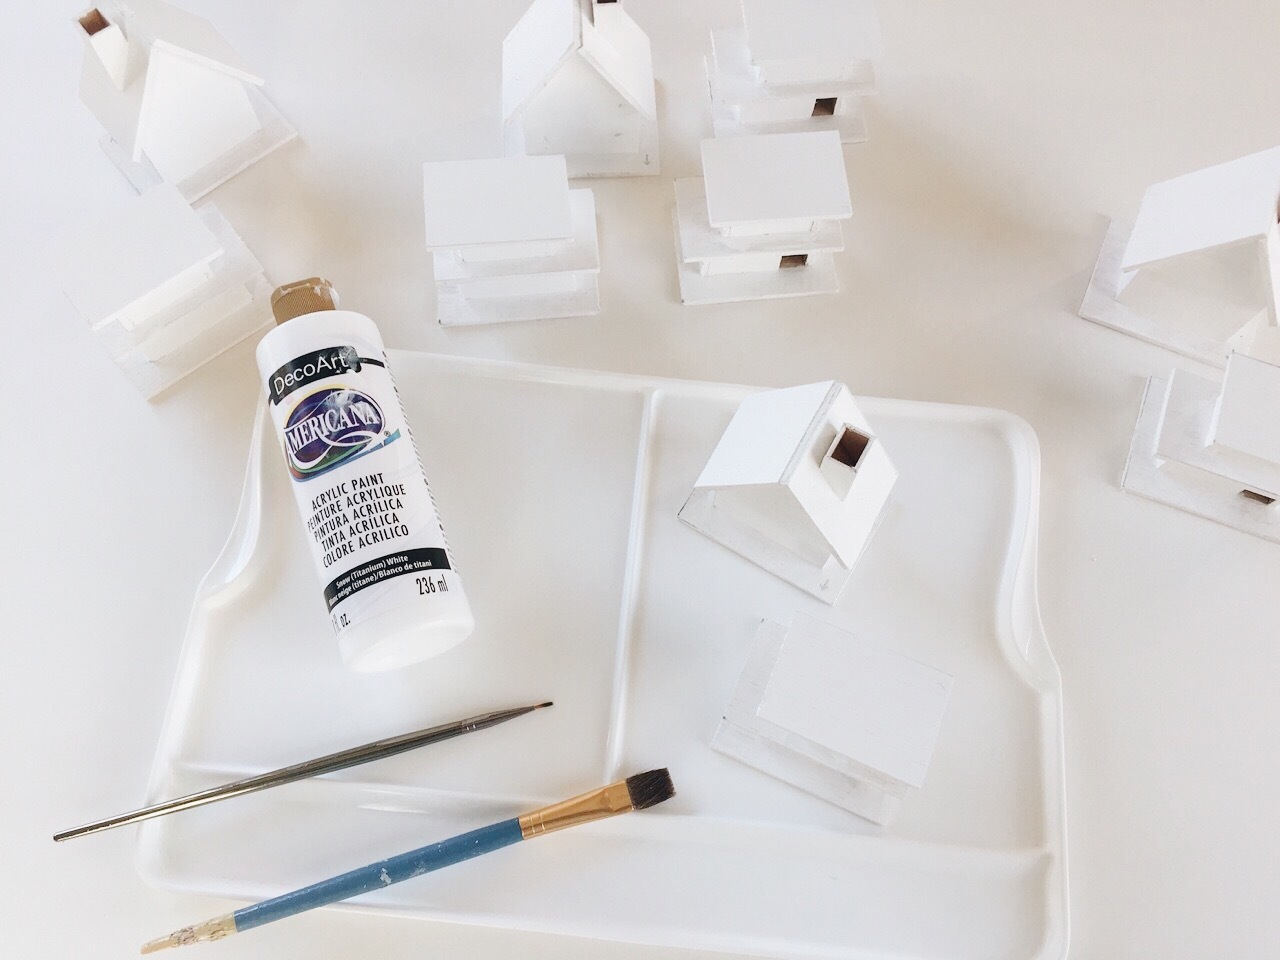
Step 10: Paint the houses using white craft paint. I applied two coats of paint for full coverage.

Step 11: Add windows and doors to your houses using charcoal craft paint and a very fine paint brush. I outlined the windows and doors in pencil first. Let dry completely before applying glitter.

Step 12: Assemble all supplies to apply glitter to the houses. Snow (the Department 56 brand is one the one we used), clear glue, a flat paint brush, silver glitter, cream/ off-white glitter and spray glue.

Step 13 - 14: Apply the clear glue to the areas you would like glitter. Smooth over with a paint brush so all areas are covered. Using a small spoon, scoop up a small amount of glitter and scatter the glitter over the glue. Gently tap the house to remove any lose glitter.

Step 15: Finish the houses off by adorning the fascia with fresh snow. Apply the clear glue to the edges (fascia). I put a small amount of the snow in the palm of my hand and dabbed the edges of the houses into the snow.

Add a layer of spray glue to hold everything in place.
All done! Now you may be wondering what we're up to with these little gems. You'll have to wait until the next post to see the final product. Until then...here's a teaser :)
